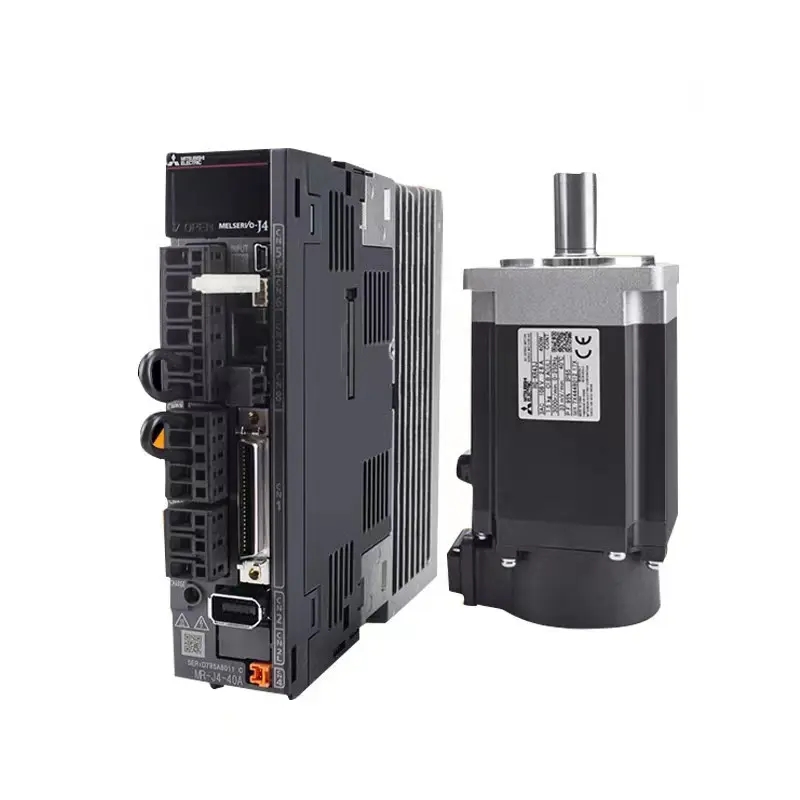
The Mitsubishi Servo Motor is a sophisticated drive component in automation and robotics that enhances precision and performance. Proper installation is crucial to ensure optimal functioning and durability. In this comprehensive guide, we will outline the step-by-step process of installing your Mitsubishi Servo Motor, including essential tips and considerations to ensure a seamless setup. Understanding the installation requirements will empower you to optimize your system for peak performance, whether in industrial settings or custom machinery designs.
1. Understanding Your Mitsubishi Servo Motor Model
- Identify the Model: Confirm the exact model of your Mitsubishi Servo Motor, as specifications can differ significantly.
- Review the Manual: Always refer to the official Mitsubishi manual for your specific model for installation and maintenance instructions.
2. Required Tools and Materials
- Tools Needed:
- Screwdriver set
- Torque wrench
- Cable ties
- Multi-meter for electrical checks
- Materials:
- Mounting hardware
- Servo motor cables
- Sensors and encoders (if applicable)
3. Safety Considerations
- Personal Safety: Always wear protective gear, including gloves and safety glasses, when working on electrical installations.
- Electrical Safety: Ensure the power supply is disconnected before installation or maintenance tasks.
- Non-Conductive Surfaces: Work on insulated surfaces to prevent electric shock.
4. Preparing for Installation
- Verify Electrical Requirements: Confirm that your system’s power supply is compatible with the motor’s voltage and amperage ratings as specified in the manual.
- Clean Installation Area: Ensure that the area where the motor will be installed is clean and free of any debris.
- Positioning the Motor: Decide on the optimal location for the servo motor and mark where you will mount it.
5. Installation Steps
- Mounting the Motor:
- Using the appropriate mounting hardware, securely attach the motor to the designated area.
- Ensure the screws are tightened to the manufacturer's torque specifications.
- Connecting the Cables:
- Connect the motor power cables following the color coding provided in the manual.
- Attach any additional connections for feedback devices (e.g., encoders).
- Configuring the Drive:
- Program the servo drive parameters according to the specific applications and requirements.
- Utilize Mitsubishi’s software or configuration tools for proper setup.
6. Testing and Troubleshooting
- Initial Power-On Test: After installation, power on the system to conduct initial tests. Monitor for abnormal sounds or vibrations.
- Run a Diagnostic Test: Use the diagnostic functions available through the motor’s software to check for errors.
- Troubleshooting Common Issues:
- Ensure all connections are secured and correctly wired.
- Consult the manual for error codes and their resolutions.
7. Maintenance Tips for Longevity
- Regular Inspection: Periodically check the connections and the physical state of the motor for signs of wear.
- Cleaning: Keep the motor free of dust and debris, which can lead to overheating and performance deterioration.
- Software Updates: Keep the control software updated to the latest versions for optimal performance and security.
8. Resources for Further Information
- Mitsubishi Official Website: Access manuals, configuration tools, and technical support.
- Online Forums and Communities: Join user groups and forums to share experiences and solutions.
Conclusion
By following this installation guide, you can ensure a successful setup of your Mitsubishi Servo Motor. Always prioritize safety and consult the official manuals for model-specific instructions. Regular maintenance and checks will help prolong the life of your servo motor, ensuring consistent performance in your applications.


